Core Concepts
Teams
Organize users into teams for resource ownership, collaboration, and scoped access control in Altostrat SDX.
Introduction
In Altostrat SDX, a Team is the primary way to group users and manage access to shared resources. Think of a team as a workspace or a container for collaboration. Every resource you manage within Altostrat SDX (like Sites, Policies, VPNs, Scripts, etc.) belongs to a specific team. Access control is layered:- A user must be a member of a team to potentially access its resources.
- The user’s assigned Role(s) within that specific team determine what actions they can perform on the team’s resources, based on the Permissions (Scopes) granted by those roles.
Key Concepts
- Resource Ownership: All manageable resources are owned by a Team, not individual users. This ensures clear ownership and facilitates handover if team members change.
- Collaboration: Teams allow groups of users working on common infrastructure or projects (e.g., a Network Operations team, a regional support group, a specific client project) to share visibility and control over the relevant resources.
- Scoped Access: A user’s permissions are always evaluated within the context of their currently active team. They only see and manage resources belonging to that team, according to their assigned roles within it.
- Multi-Team Membership: A single user account can be a member of multiple teams, allowing individuals to participate in different projects or departments without needing separate logins. They can switch between their active team contexts using the team switcher in the UI or via API.
- Team Owner: The user who creates a team is designated as its Owner. The Owner typically has full administrative privileges within that team (often assigned a default ‘Administrator’ or ‘Owner’ role) and is usually the only one who can delete the team or transfer ownership (though specific permissions can vary).
- Site Limit (Optional): Teams can optionally have a specific ‘Site Limit’ configured. If set to a value greater than 0, this limit restricts the number of sites this specific team can manage, potentially overriding a higher limit set at the organizational/subscription level. A value of 0 means the team uses the available organization-wide limit.
Managing Teams
Team management involves viewing, creating, updating, switching between, and deleting teams. These actions typically require specific permissions (scopes).Viewing Teams
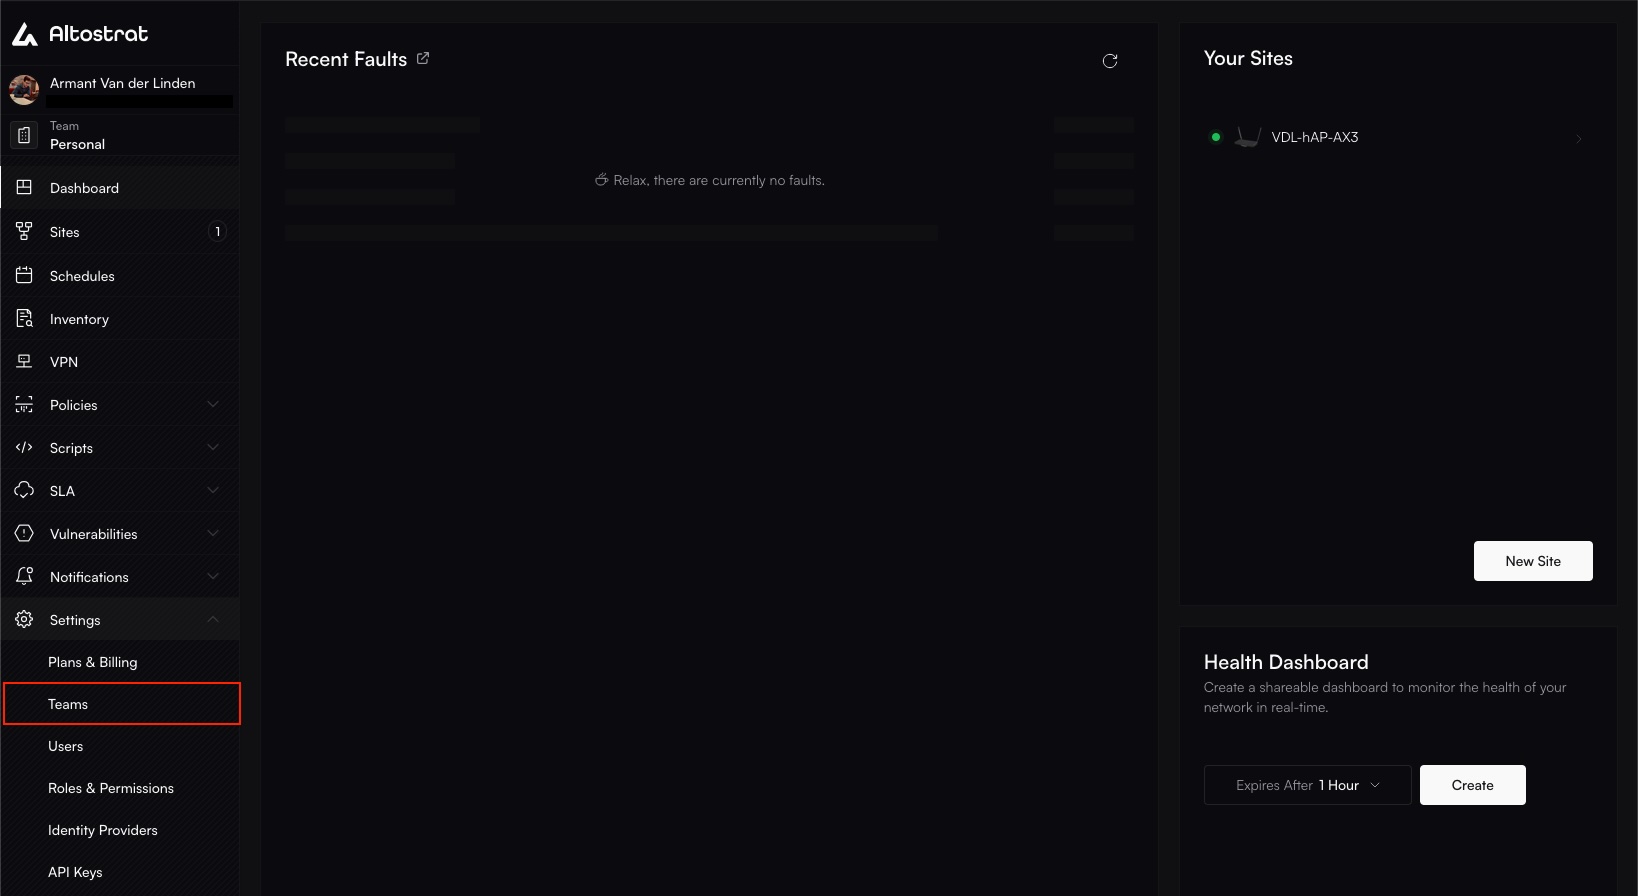
- UI: Navigate to Settings → Teams in the dashboard to see a list of teams you belong to.
- API: Use
GET/teams to retrieve a list of teams accessible to the authenticated user.


The Team Overview page lists all teams the user is a member of.
Creating a Team
Requires theteam:create permission scope.
1
Navigate and Initiate
Go to Settings → Teams and click the + New or + Add Team button.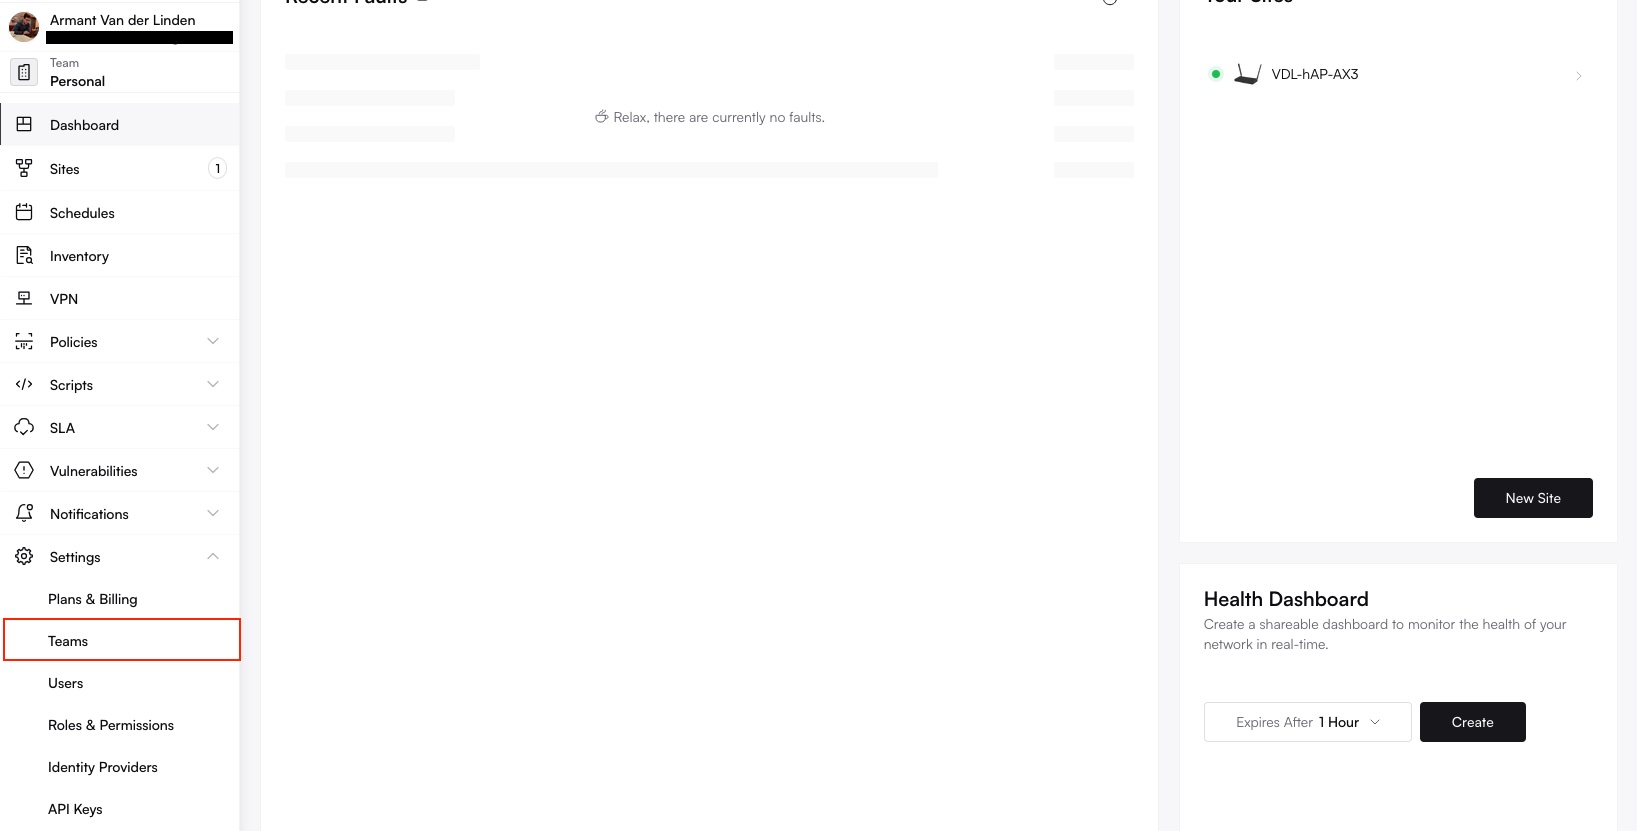


Starting the team creation process from the Team Overview page.
Clicking the '+New' button.
2
Name the Team
Provide a descriptive Team Name (e.g., “Network Operations Center”, “Client Alpha Support”, “Security Audit Team”) and click Add ->.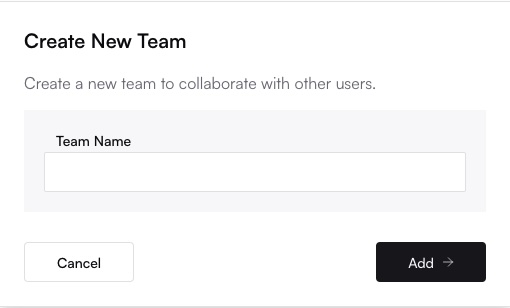
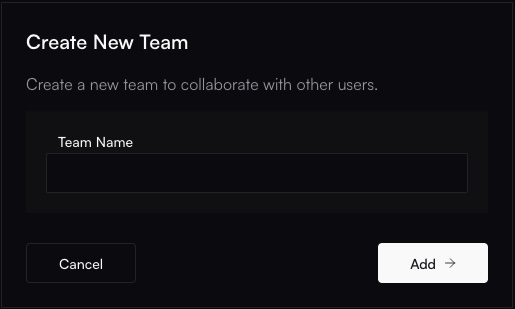
Entering a name for the new team.
3
Confirm Creation
The team is created, and the creator is automatically assigned as the Owner and added as a member. (API:
POST /teams). You can now manage its members and settings.Editing a Team
Requires theteam:update permission scope (or Owner privileges).
1
Select the Team
From the Settings → Teams overview, click on the name of the team you want to modify.

Selecting the 'NoC Team' from the list to edit its details.
2
Update Details
You can typically modify the Team Name and the optional Site Limit. Member management (adding, removing, changing roles) is also done from the team settings screen but is detailed under User Management. Changes are usually saved automatically as you make them. (API: 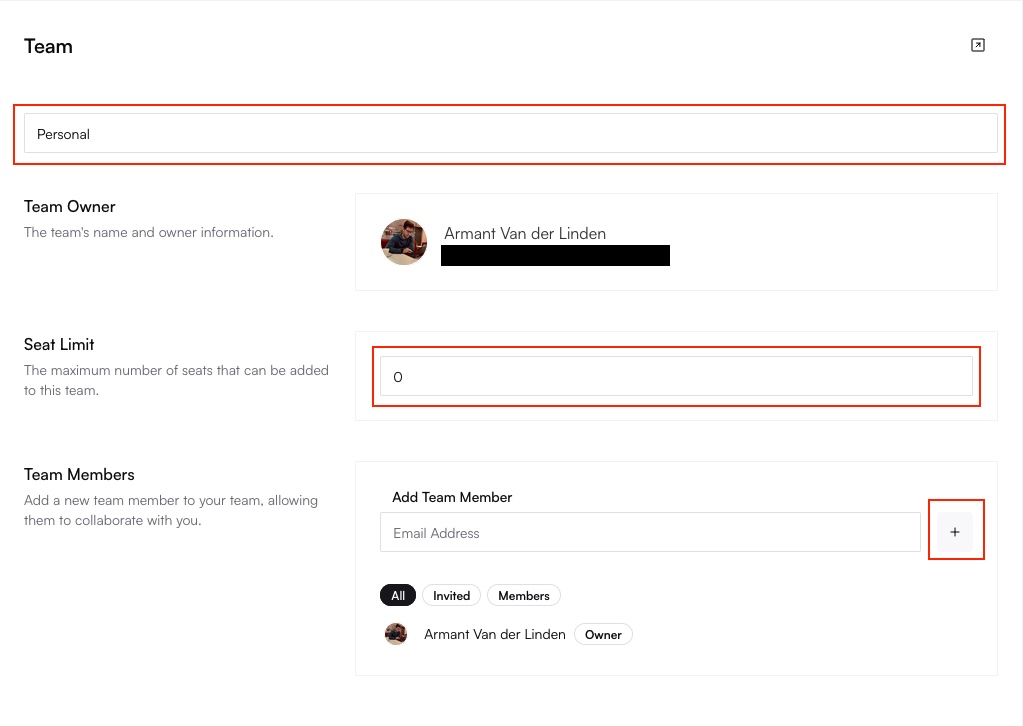
PUT /teams/{team}).Editing the team name and adjusting the optional Site Limit.
Switching Active Team
If you are a member of multiple teams, you need to select which team’s context you are currently working in. The active team determines which resources are visible and manageable.- UI: Use the Team Switcher dropdown, usually located in the main navigation or sidebar.
- API: Use the
PUT/teams/{team}/switch endpoint to change the active team context for subsequent API calls using the same authentication token/session.
Deleting a Team
Requires theteam:delete permission scope (or Owner privileges).
This action is permanent and cannot be undone. Deleting a team typically also deletes all resources owned by that team (sites, policies, etc.). Ensure any critical resources are moved or backed up before proceeding. You generally cannot delete a team if you are the sole owner and there are other members, or if critical resources are still associated with it.
1
Select the Team
From the Settings → Teams overview, choose the team you wish to delete.
2
Initiate Deletion
Within the team’s settings, find and click the Delete Team button or trash can icon.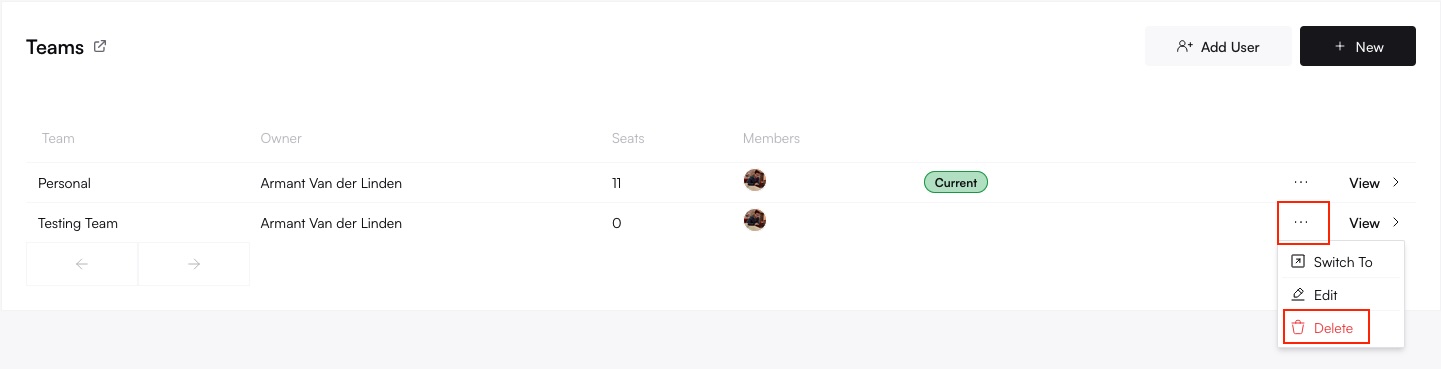
Locating the delete button within the team's settings page.
3
Confirm Deletion
A confirmation dialog will appear, warning about the consequences. Carefully read the confirmation and proceed if you are certain. (API: 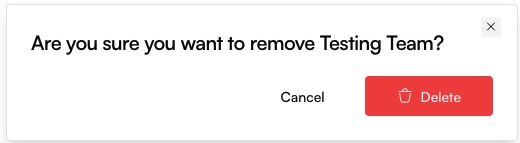

DELETE /teams/{team}).Confirming the permanent deletion of the team and its resources.
Managing Members and Invites
Adding users to a team, inviting new users, removing members, and assigning their roles within the team are managed within the specific team’s settings (Settings → Teams → [Select Team] → Members). For detailed instructions on these actions, please refer to the User Management documentation.Best Practices
- Use Descriptive Names: Choose team names that clearly indicate the team’s purpose or scope (e.g., “EU Support”, “Project Phoenix”, “Read-Only Auditors”).
- Align Teams with Responsibilities: Create teams based on functional roles, projects, or client groupings to simplify permission management.
- Leverage Multiple Teams: Don’t hesitate to place users in multiple teams if their responsibilities cross functional boundaries.
- Review Team Ownership: Ensure the designated Team Owner is appropriate and active. Plan for ownership transfer if necessary.
- Utilize Site Limits Sparingly: Only set per-team site limits if you need to enforce stricter quotas than the overall organizational subscription allows for specific groups.